
What Goes Into a Quality Tile Installation?
A quality tile installation depends on much more than the tile itself. The surface underneath it must be stable and properly prepared, the layout needs to be resolved before installation, and the setting materials have to suit the conditions. Each part of the process influences how the finished tile looks and how well it holds up over time.
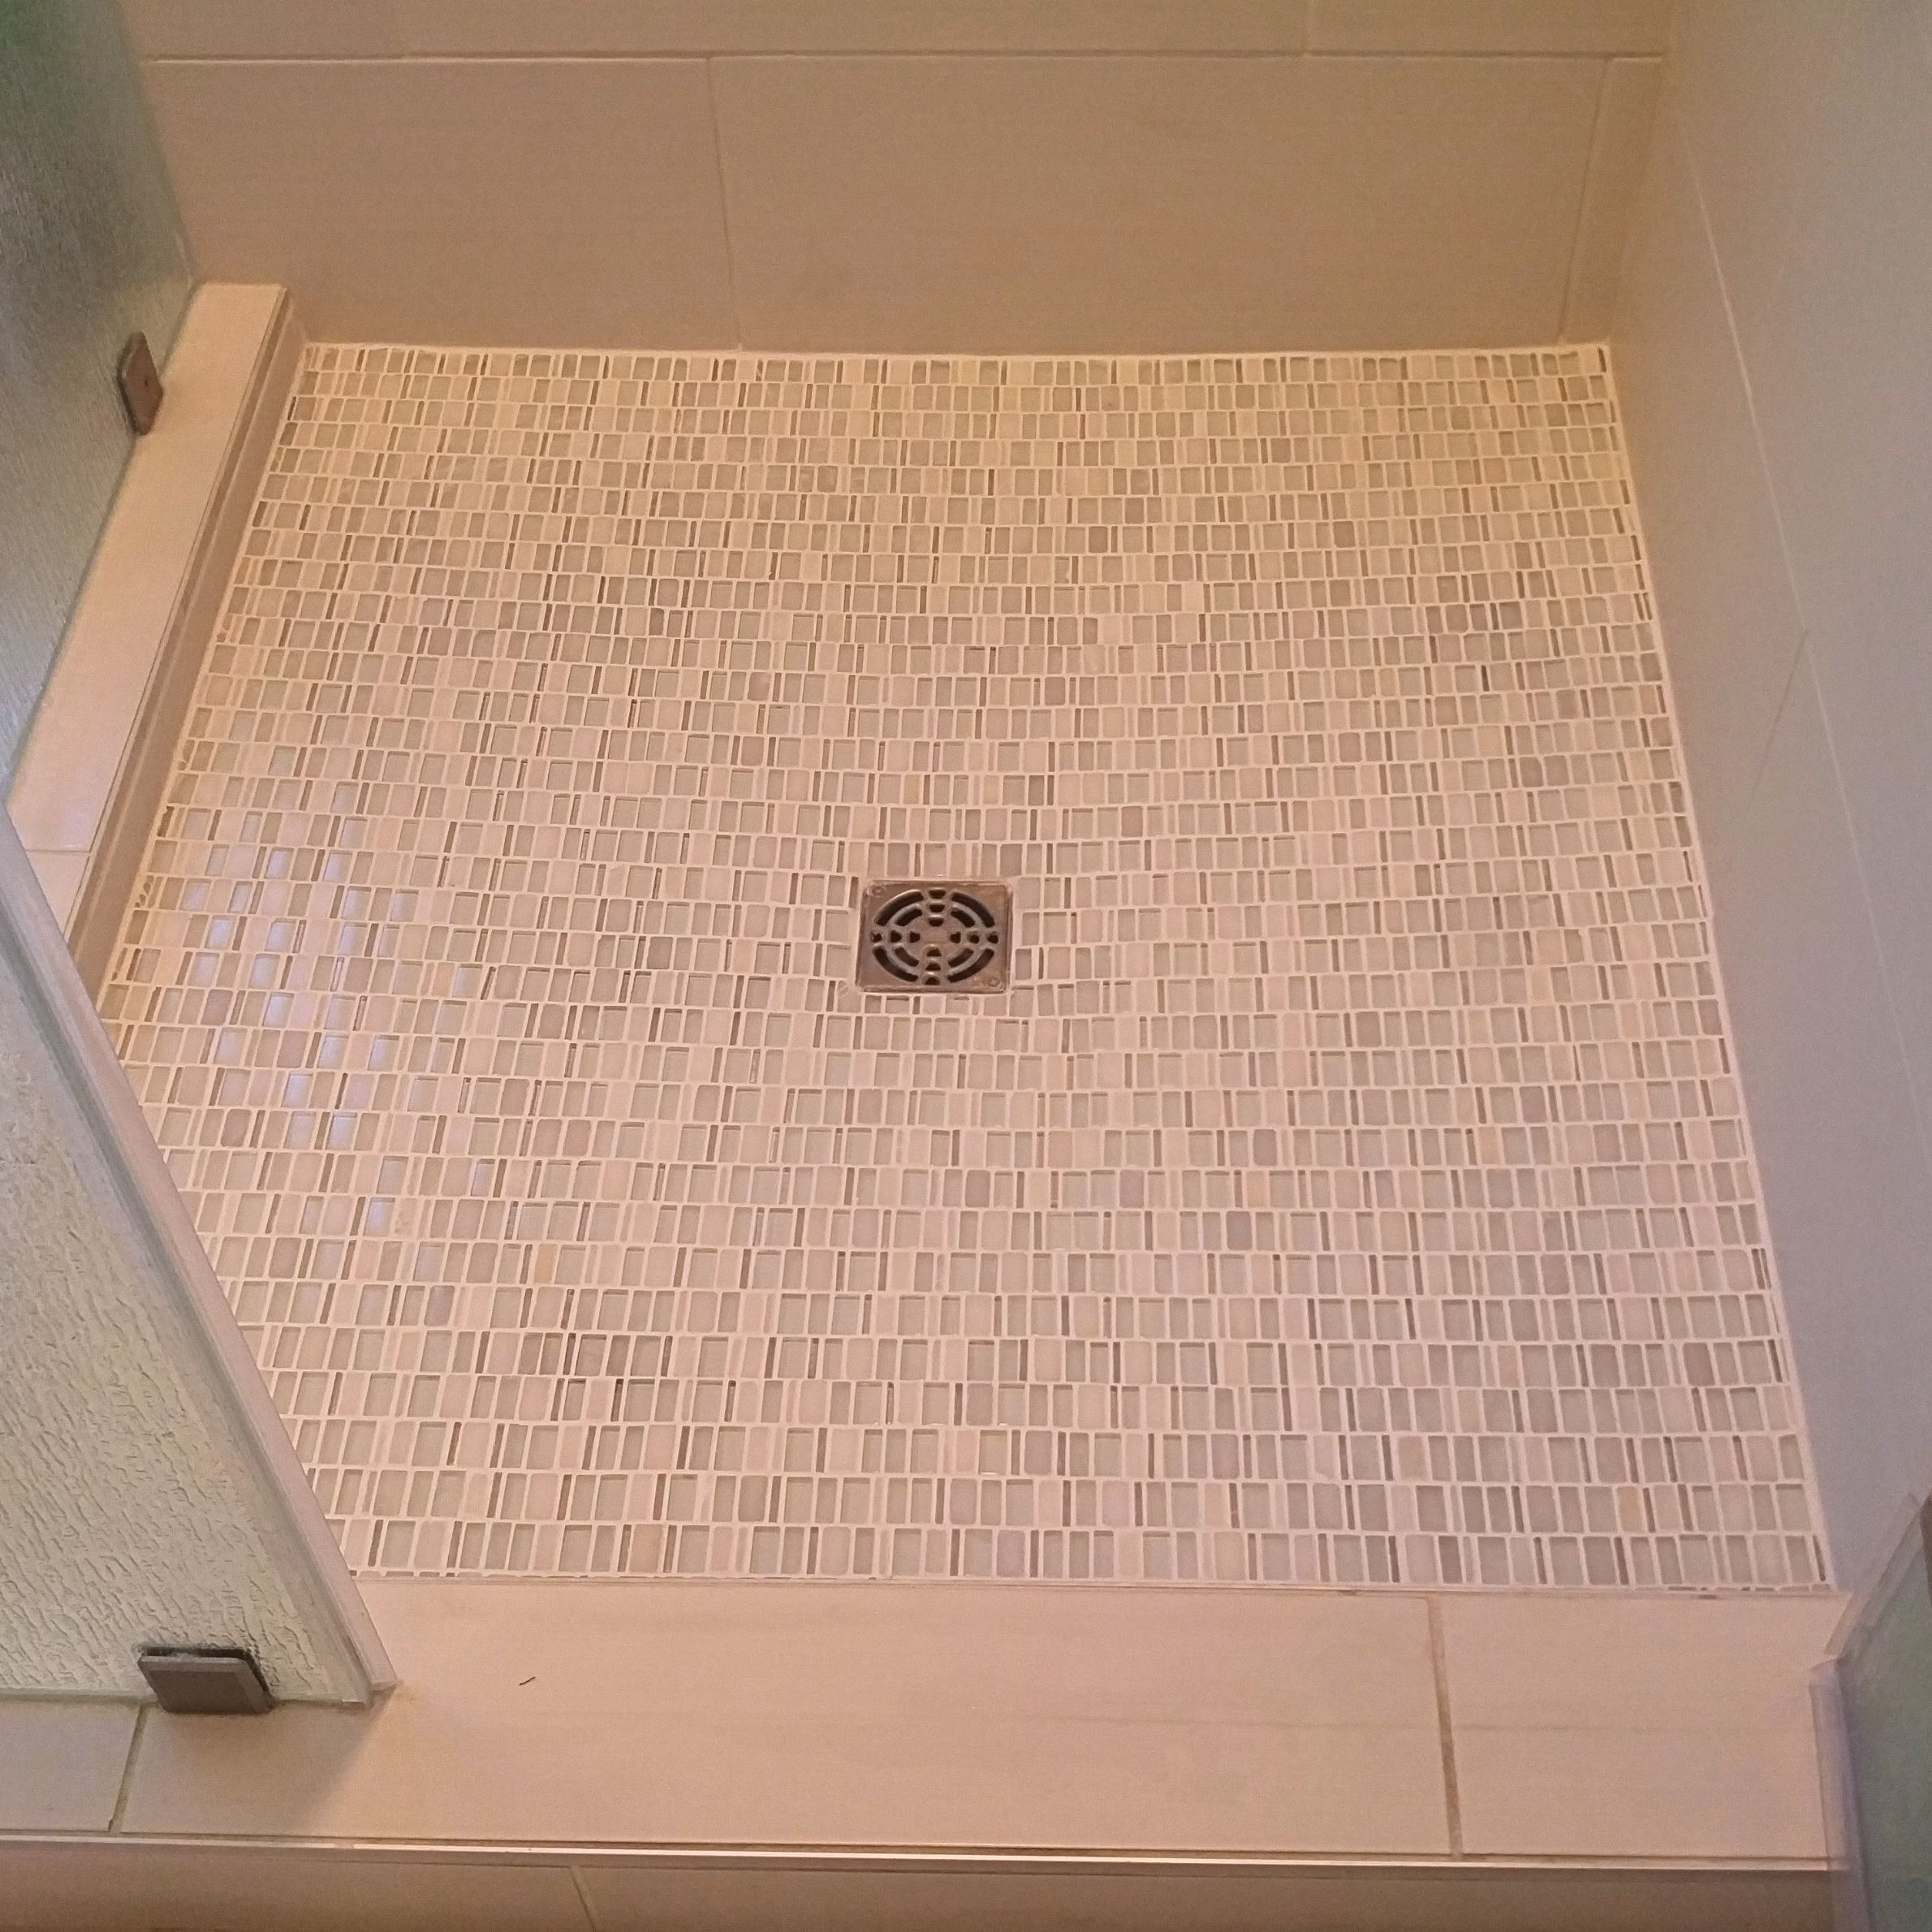
Why Proper Tile Installation Matters
Tile is hard and durable, but it is also brittle. Movement or irregularities beneath the surface can eventually show up in the finished work.
That makes the condition of the substrate especially important. Concrete slabs can have cracks or uneven areas. Wood-framed floors can flex. Walls may be bowed or out of square, particularly once an older tile installation is removed and the framing is exposed.
Industry standards for tile installation address the complete assembly, including substrate preparation, setting materials, and workmanship. The Tile Council of North America maintains information on the ANSI standards that govern these parts of a tile installation.
There are also local conditions to consider. Bryan and College Station sit on clay soils that can contribute to foundation movement. No installation method can guarantee that tile will never crack, but preparing the surface correctly and addressing existing cracks can help reduce the risk.
Appearance depends on early planning too. Where a pattern begins determines where full tiles and cut pieces will land. The relationship between the tile and surrounding trim affects how finished the room looks.
Many of the details that distinguish careful tile work are decided before the first tile is permanently set.
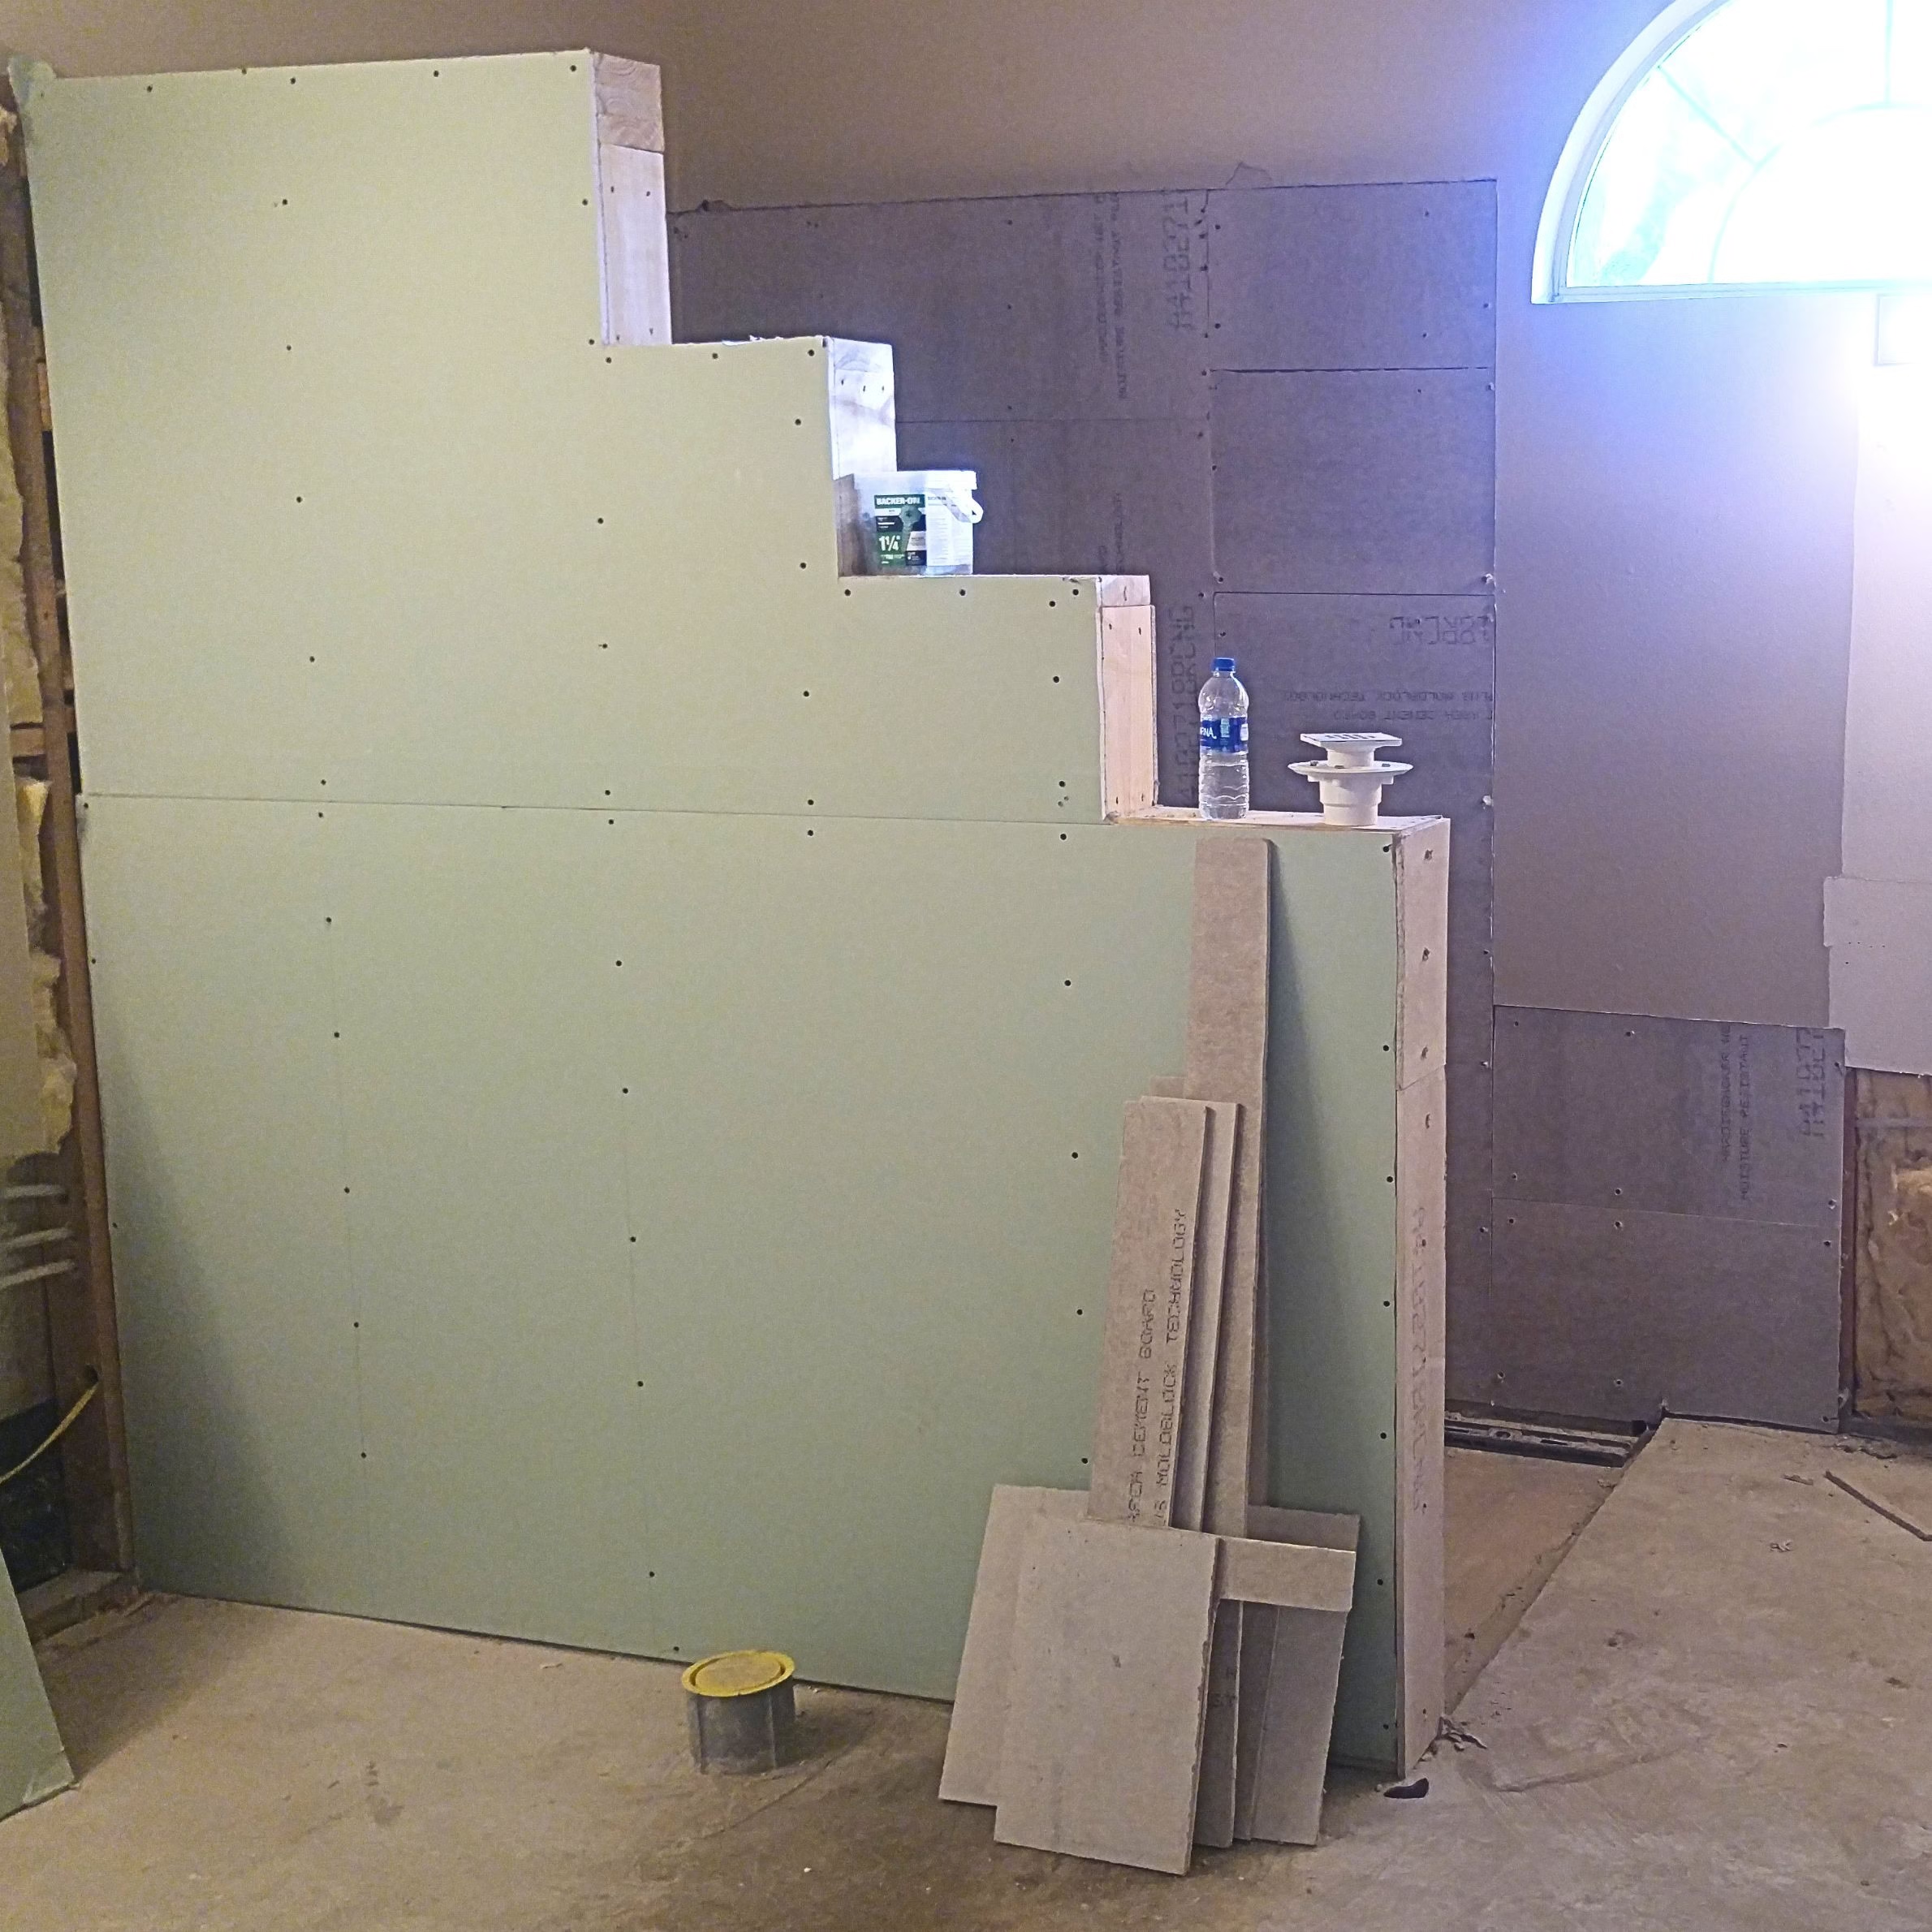
Common Tile Installation Problems and Where They Begin
Cracked tile is one of the more obvious problems, but the cause may be hidden underneath it. Movement in a concrete slab or excessive deflection in a wood floor can transfer through the installation.
An uneven substrate creates a different problem. Tile follows the surface beneath it, so high spots, low areas, or bowed framing can make it difficult to produce an even finished plane.
Layout problems tend to show up differently. Beginning the pattern without considering the entire room can leave narrow slivers of tile along a wall or place awkward cuts in prominent locations. A bathroom adds another consideration because a mirror can make a wall or floor visible from an angle that might otherwise be overlooked.
Trim details can also expose shortcuts. Tile needs to meet baseboards, door jambs, and casings cleanly. The original Stearns approach favors fitting tile beneath baseboards when conditions allow rather than relying on shoe molding to cover the perimeter. This requires more precise installation, but produces a cleaner transition and eliminates another piece of trim that can collect scuffs and spills.
Some installation problems appear later in the grout joints. Thinset left too high between tiles can show through the grout or leave too little depth for the grout joint. Cleaning those areas as the tile is set prevents a difficult correction after the mortar has hardened.
How a Quality Tile Installation Comes Together
The specific construction varies according to the room and existing conditions, but the overall sequence remains consistent.
1. Evaluate and Prepare the Substrate
The first concern is the surface receiving the tile.
On a concrete slab, construction residue and dust need to be removed so they do not interfere with the bond. The floor is also checked for high and low areas that may require correction.
Existing cracks call for additional consideration. A crack separation membrane can help isolate the tile from movement below. It reduces risk rather than providing a guarantee against future cracking.
Wood-framed floors require attention to structural stiffness. Movement in the joists or subfloor can cause tile or grout to crack. The original Stearns guidance calls for evaluating joist spacing and sizing, providing adequate subfloor support, and using cement backer board to create an appropriate tile substrate. Wet areas require additional provisions for water management.
Walls have their own conditions to uncover. Older Brazos Valley homes may contain tile installed over a traditional mud bed made from cement, felt paper, and reinforcing mesh. Direct installation over drywall became more common later.
Removing an old wall installation down to the framing makes it possible to check the studs for straightness and the corners for square. Corrections made here give the new substrate a better starting point.
2. Plan the Layout Around the Room
Once the substrate conditions are understood, attention turns to where the tile will actually fall.
Tile selection, size, grout joint width, accent pieces, and trim all influence the layout. The pattern can be mapped before installation so the installer can see how those decisions interact across the complete surface.
A useful starting point is the place where the tile will be most prominent. That could be the view through the primary entrance or a frequently seen wall. In a bathroom, the important view may appear through a mirror.
The pattern can then be adjusted to favor full tiles in prominent areas and avoid unnecessarily narrow cuts at the perimeter.
Working through the layout ahead of time also helps identify conflicts with trim and transitions while there is still an opportunity to change the plan.
3. Transfer the Plan to the Work Surface
A layout on paper still needs reliable reference points in the room.
Guide lines transfer the planned pattern to the prepared substrate and help keep rows aligned as work progresses. Without those references, small deviations can accumulate across a floor or wall.
The installer also has to consider the order of the work. Floor tile needs time to cure before it can be walked on, so the installation sequence should allow a path out of the room rather than trapping the installer behind freshly set tile.
4. Prepare and Apply the Setting Material
The original Stearns articles express a preference for thinset mortar because of its bond and suitability for varying project conditions. They also recommend polymer-modified thinset, particularly with the movement concerns found in the Brazos Valley.
Mixing affects the performance of the material. Clean water and equipment matter because old, partially cured thinset can cause a fresh batch to begin setting sooner than intended. Thinset also needs a resting period after its initial mixing, known as slaking, before it is mixed again and used.
Working conditions influence the material as well. Temperature and direct sunlight can change how quickly thinset begins to harden.
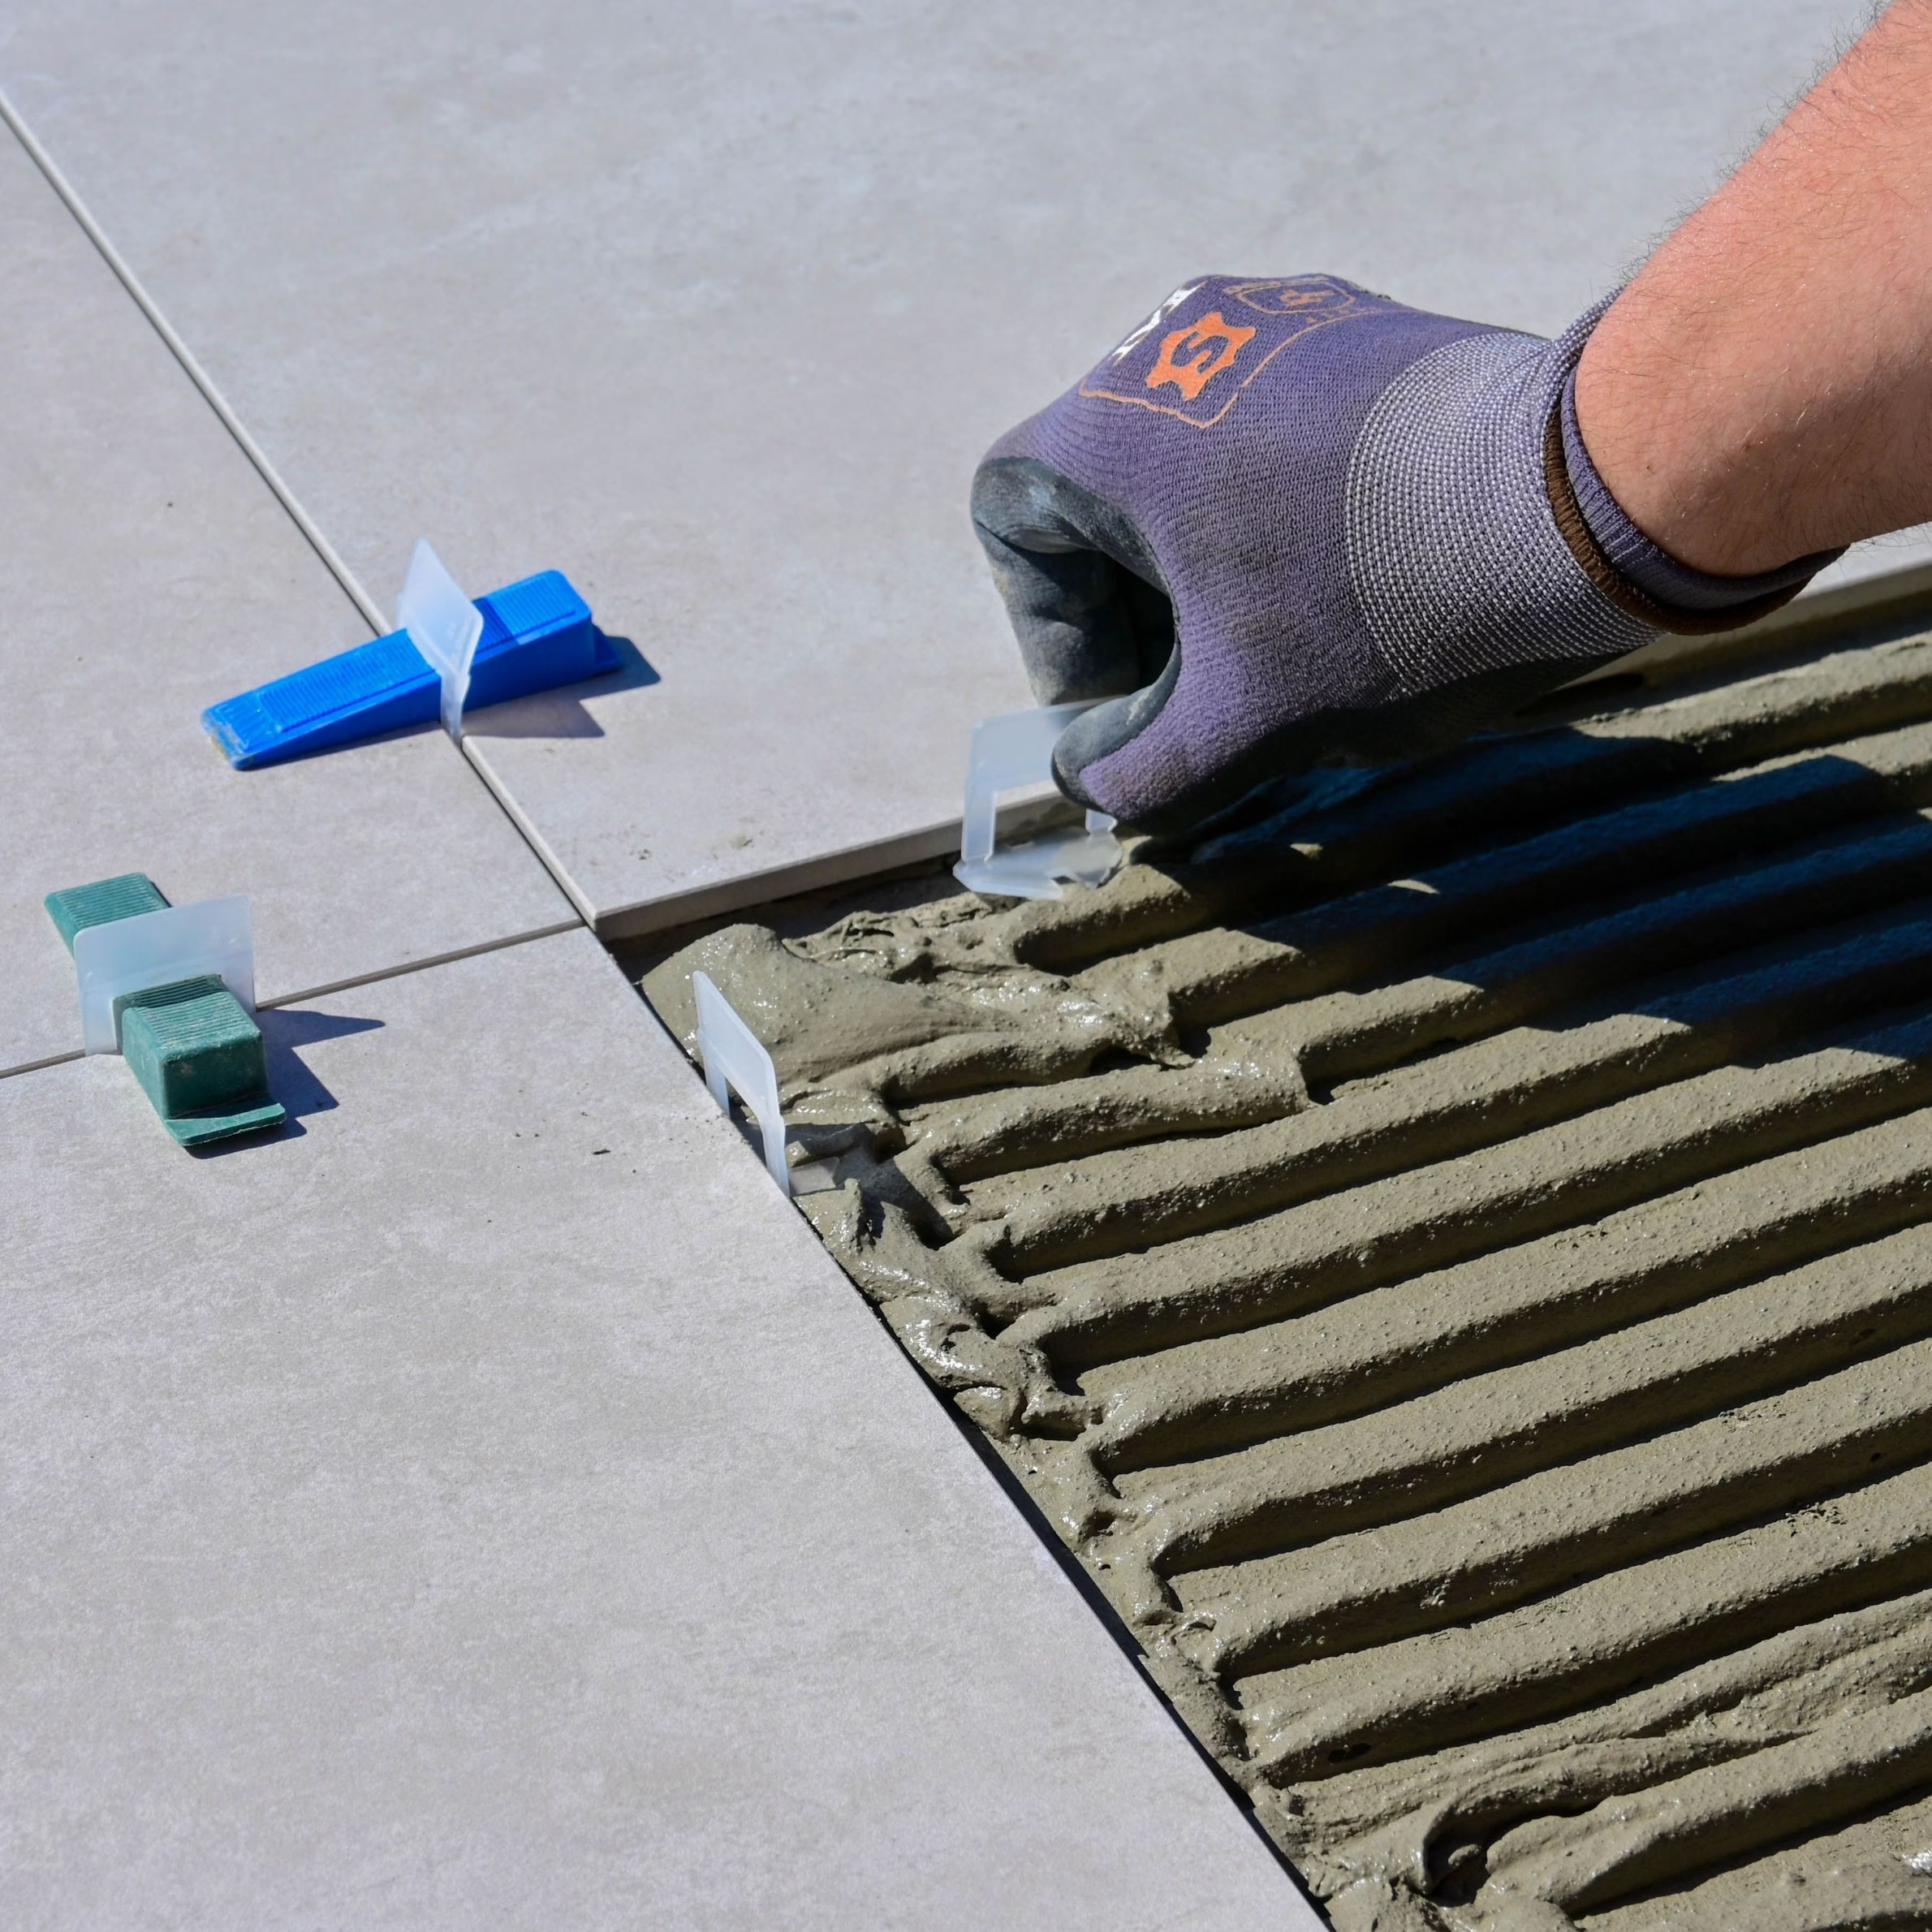
Once applied, the mortar is combed with a notched trowel. Tile size influences the trowel required, and maintaining a consistent angle helps create even mortar ridges beneath the tile.
5. Set the Tile and Maintain the Details
As tile is placed, the planned layout and reference lines continue to guide the installation.
Full tiles are generally installed before the work moves to cut pieces. Grout joints are kept clear of excess thinset as the work progresses, and mortar on the face of the tile is removed before it hardens.
These details are easier to manage during installation than after the mortar has cured. They also affect the appearance of the grout and the cleanliness of the finished surface.
The newly installed tile then needs adequate curing time before normal traffic resumes.
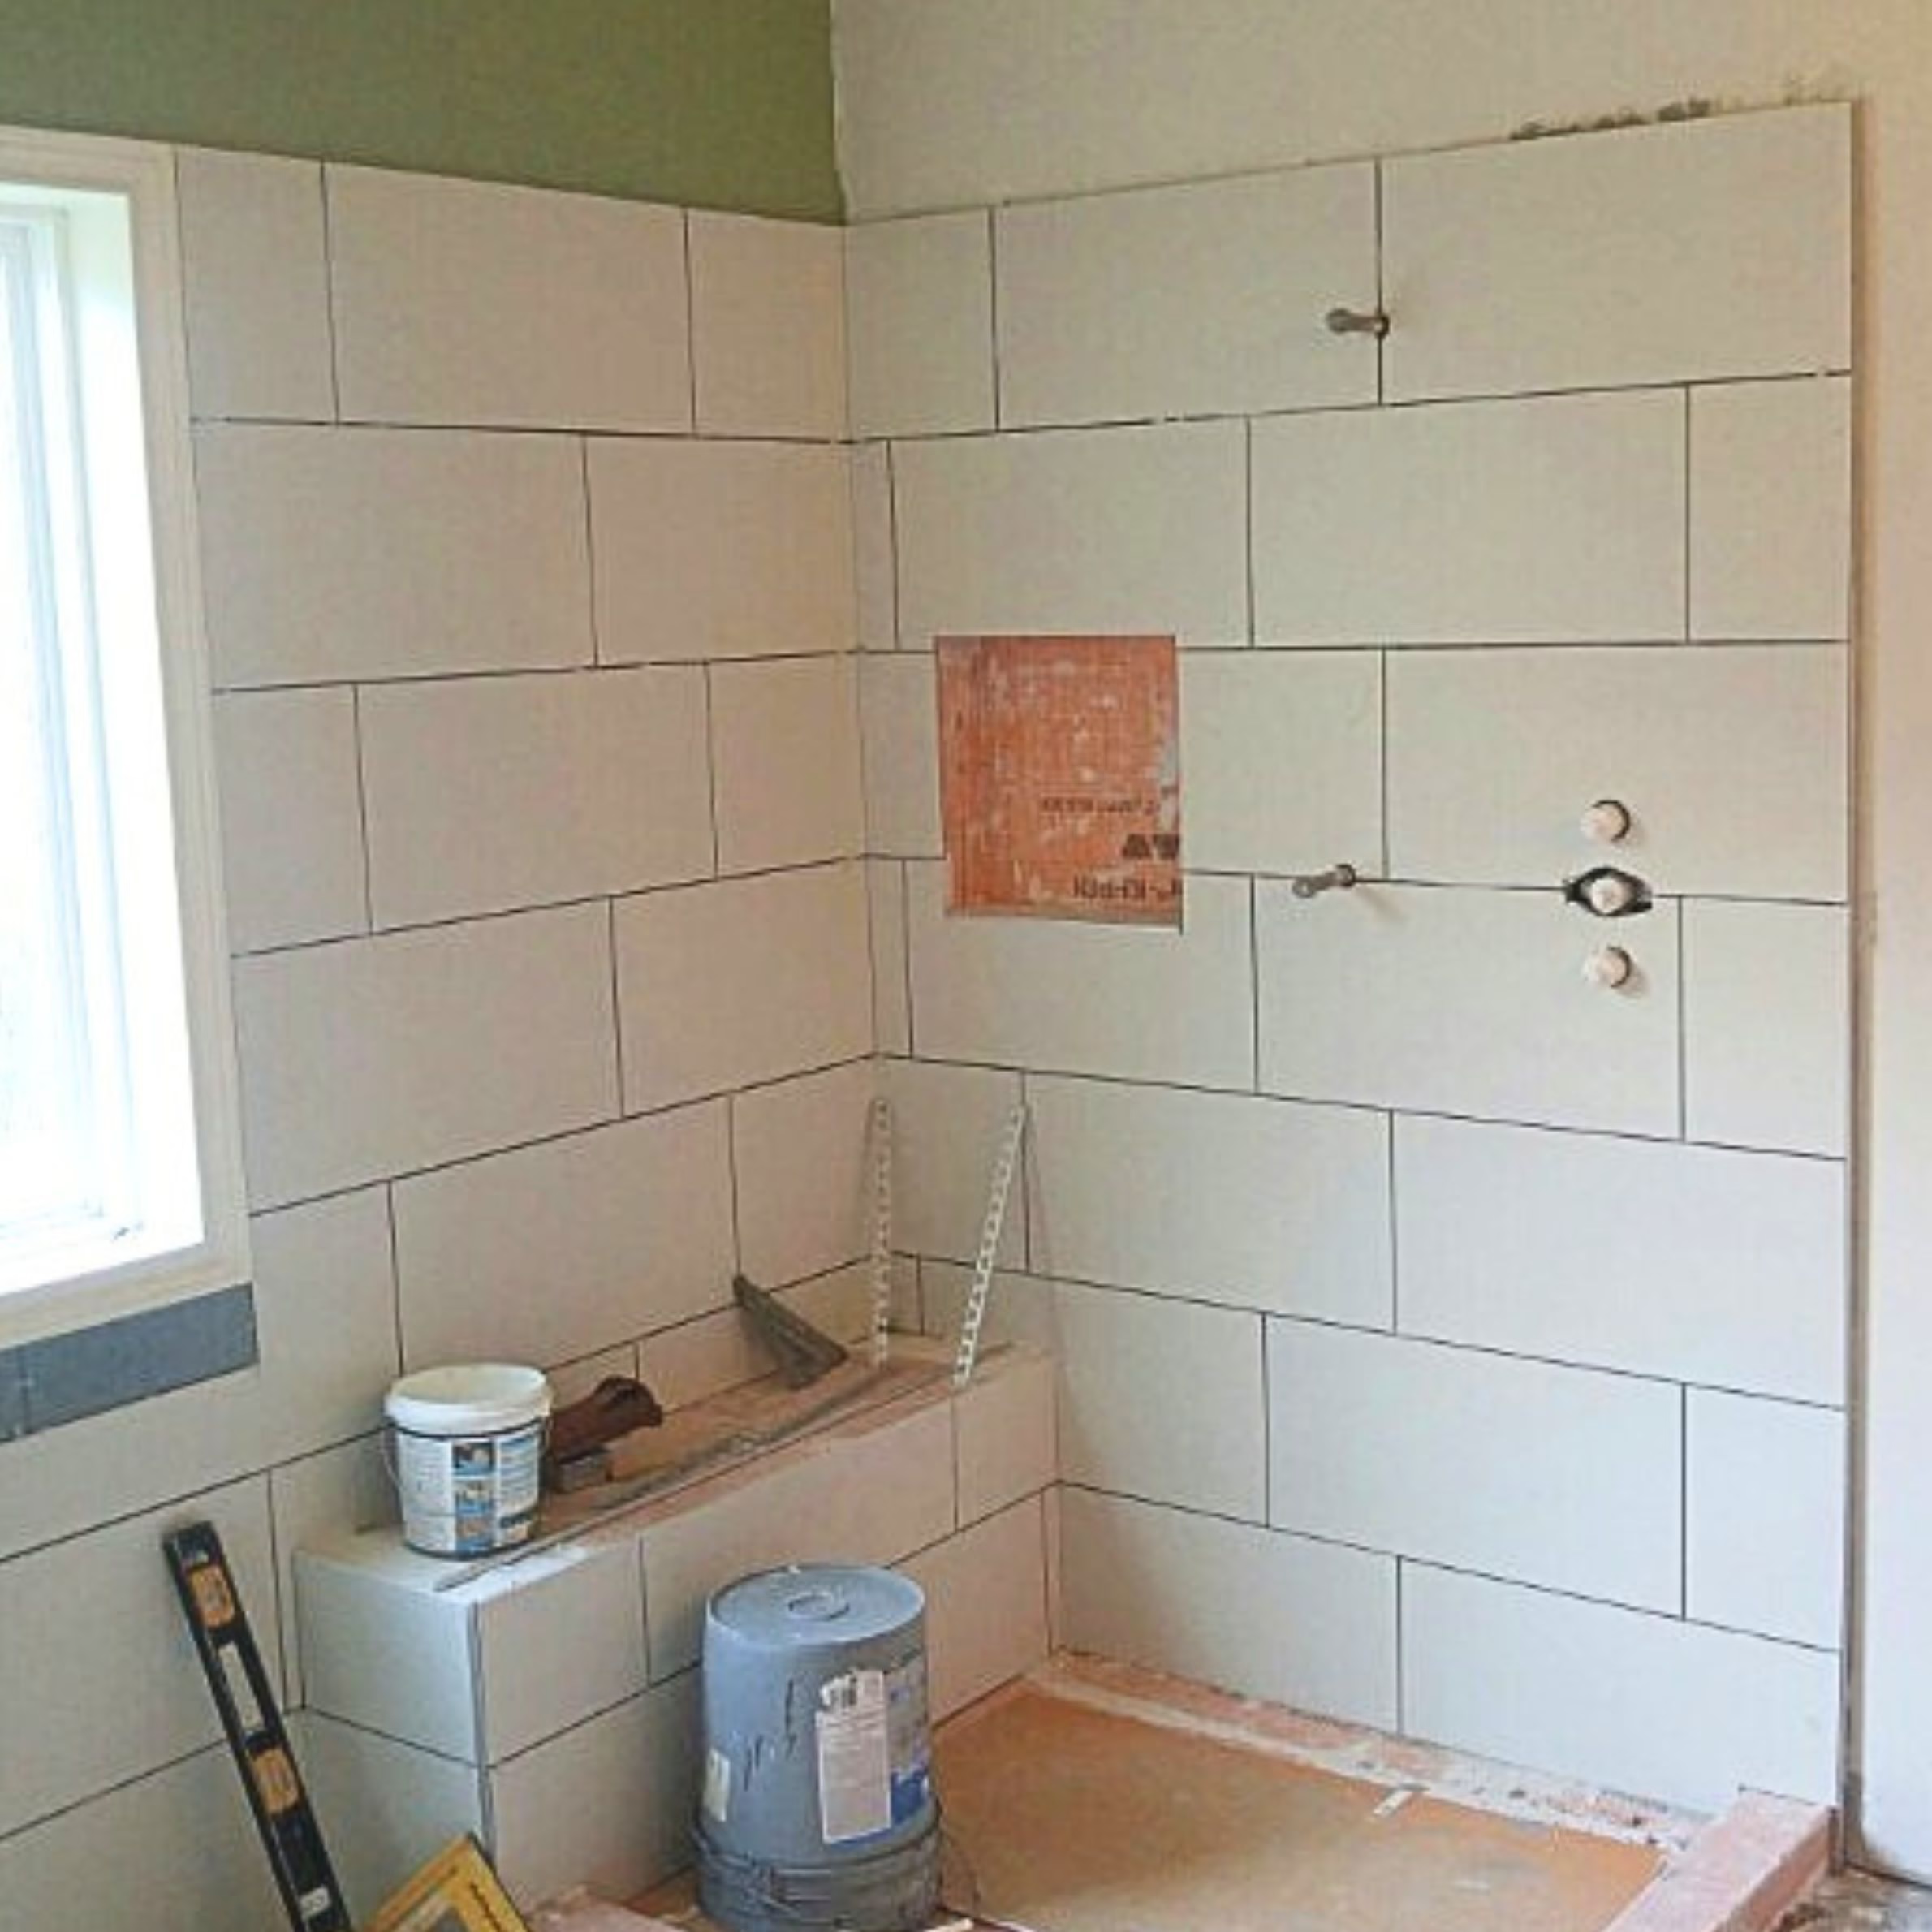
Materials and Systems Used in Tile Installation
Different substrates call for different supporting materials.
Cement backer board creates a suitable tile substrate over wood-framed floors and can also be part of wall assemblies. Its seams and fasteners have to be treated so the individual boards function as a continuous surface.
Crack separation membranes may be used over cracks in concrete to help reduce the transfer of movement into the finished tile.
Thinset mortar bonds the tile to its prepared substrate. Its selection and handling affect the quality of that bond.
Water-management components are required where tile is installed in wet areas. The original articles specifically reference shower pans for wet floor assemblies and felt behind wall backer board. The exact assembly used on a current project should follow the system specified for that installation rather than assuming an older method applies universally.
These materials serve different purposes, but each contributes to the conditions supporting the visible tile.
How Proper Installation Affects the Longevity of Tile
A finished tile surface can only perform as well as the conditions supporting it allow.
A stable substrate helps limit movement. Correcting uneven surfaces gives the tile a more consistent plane. Addressing cracks provides additional protection where movement already exists.
Layout contributes to longevity in a different sense. It allows cuts, transitions, and trim conditions to be resolved before installation rather than forcing compromises as the work reaches the edge of a room.
Care during setting protects the final details. Consistent mortar application supports the tile, while clean grout joints leave room for the grout to perform as intended.
None of these steps can remove every variable from a house, particularly structural movement. They can reduce avoidable problems caused by the installation itself.
How Stearns Design Build Manages Tile Installation
Our tile planning begins before the finish material goes down because many of the decisions that affect the final result will eventually be hidden.
Existing conditions need to be understood first. A concrete slab, wood-framed floor, or older tiled wall may each reveal something different once the project is opened up. Those conditions inform how the substrate should be prepared before installation continues.
Layout is also treated as a design decision. We consider how the pattern relates to the room and where cuts will fall before installation commits those choices to the surface.
During construction, the planned assembly provides direction for the people doing the work and gives our team specific conditions to oversee. This is one reason detailed planning matters in a design-build process. Decisions made before installation give the construction team real information to work from instead of leaving important details to be solved after the tile work has already begun.
The homeowner ultimately sees the finished tile. By that point, much of the work that supports its quality has already been completed.
Frequently Asked Questions
Can proper tile installation prevent tile from ever cracking?
No installation can guarantee that tile will never crack. Tile is brittle, and movement in a slab or floor structure can transfer to the finished surface. This is a particular consideration in Bryan and College Station because local clay soils can contribute to foundation movement. Proper substrate preparation and crack separation methods can help reduce the risk.
Why does the surface underneath tile matter?
The substrate supports the finished installation. An uneven slab, excessive movement in a wood-framed floor, or bowed wall framing can affect the tile installed over it. Evaluating and preparing that surface gives the tile a more suitable foundation.
Why should tile layout be planned before installation?
Layout determines where full tiles, cut pieces, grout joints, accents, and trim will appear. Planning around important sight lines allows the pattern to be adjusted before installation and can prevent narrow sliver cuts from ending up in prominent locations.
Does installing tile in an older home require different considerations?
It can. Removing existing tile in an older home may expose construction methods that are less common today, including traditional mud-bed installations. It can also reveal bowed framing or other conditions that were previously concealed. Those existing conditions need to be understood before the new substrate and tile are installed.
Can poor preparation make tile repairs more expensive later?
Problems beneath a finished tile surface can be difficult to access. If a failure originates in the substrate or underlying structure, correcting it may require removing finished material to reach the cause. Addressing visible concerns while the substrate is exposed can help avoid installation-related problems that would be more disruptive to correct later.
How long does a quality tile installation last?
There is no single lifespan established by the original articles because performance depends on the house, substrate conditions, movement, materials, and installation. What can be controlled is the quality of the preparation and installation. A stable substrate, thoughtful layout, appropriate setting material, and careful execution help give the finished tile the conditions it needs to perform over time.